As I mentioned last time, NVIDIA Isaac Sim, powered by Omniverse, is a scalable robotics simulation application and synthetic data generation tool that powers photorealistic, physically-accurate virtual environments to develop, test, and manage AI-based robots. This post is the part two of Isaac Sim’s post series, to read the part one, click here.
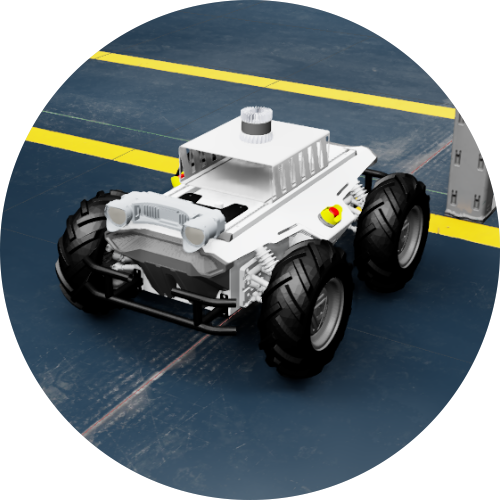
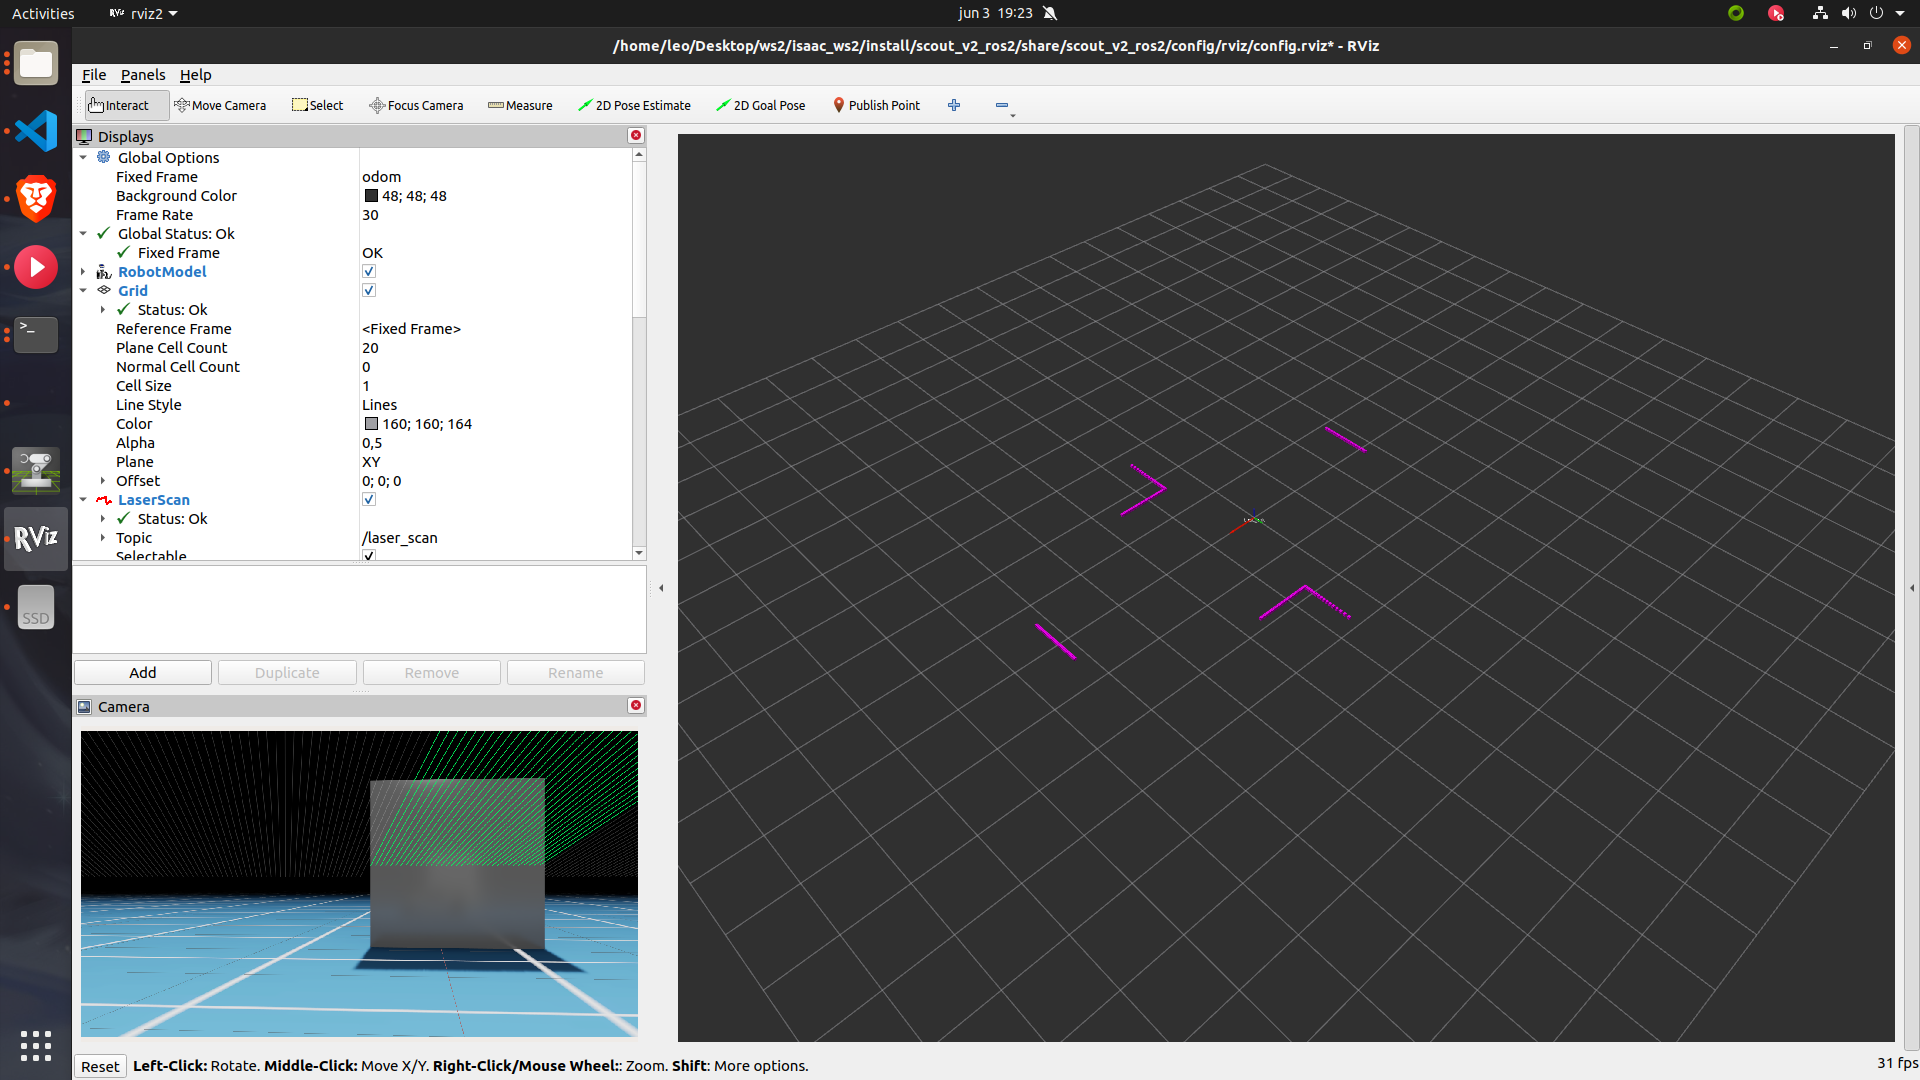
This time I will explain how to simulate a Scout V2 robot with a stereo camera and a 2D LiDAR. You will be able to view the sensors and the odometry on Rviz.
Demonstration
Simulation setup
First, you need to open the terminal and create a ROS2 workspace
1
$ mkdir -p scout_ws/src
go to the src folder and clone the repository
1
2
$ cd scout_ws/src
$ git clone https://github.com/leonlime/scout_v2_isaac.git
build the package
1
2
3
$ cd ..
$ source /opt/ros/foxy/setup.bash
$ colcon build
Running the simulation
Open the terminal, navigate to the workspace you created before and source ROS2. Don’t forget, always before opening Isaac Sim, the first thing to do is start a terminal and source your native ROS2
1
2
3
$ cd scout_ws
$ source /opt/ros/foxy/setup.bash
$ . install/setup.bash
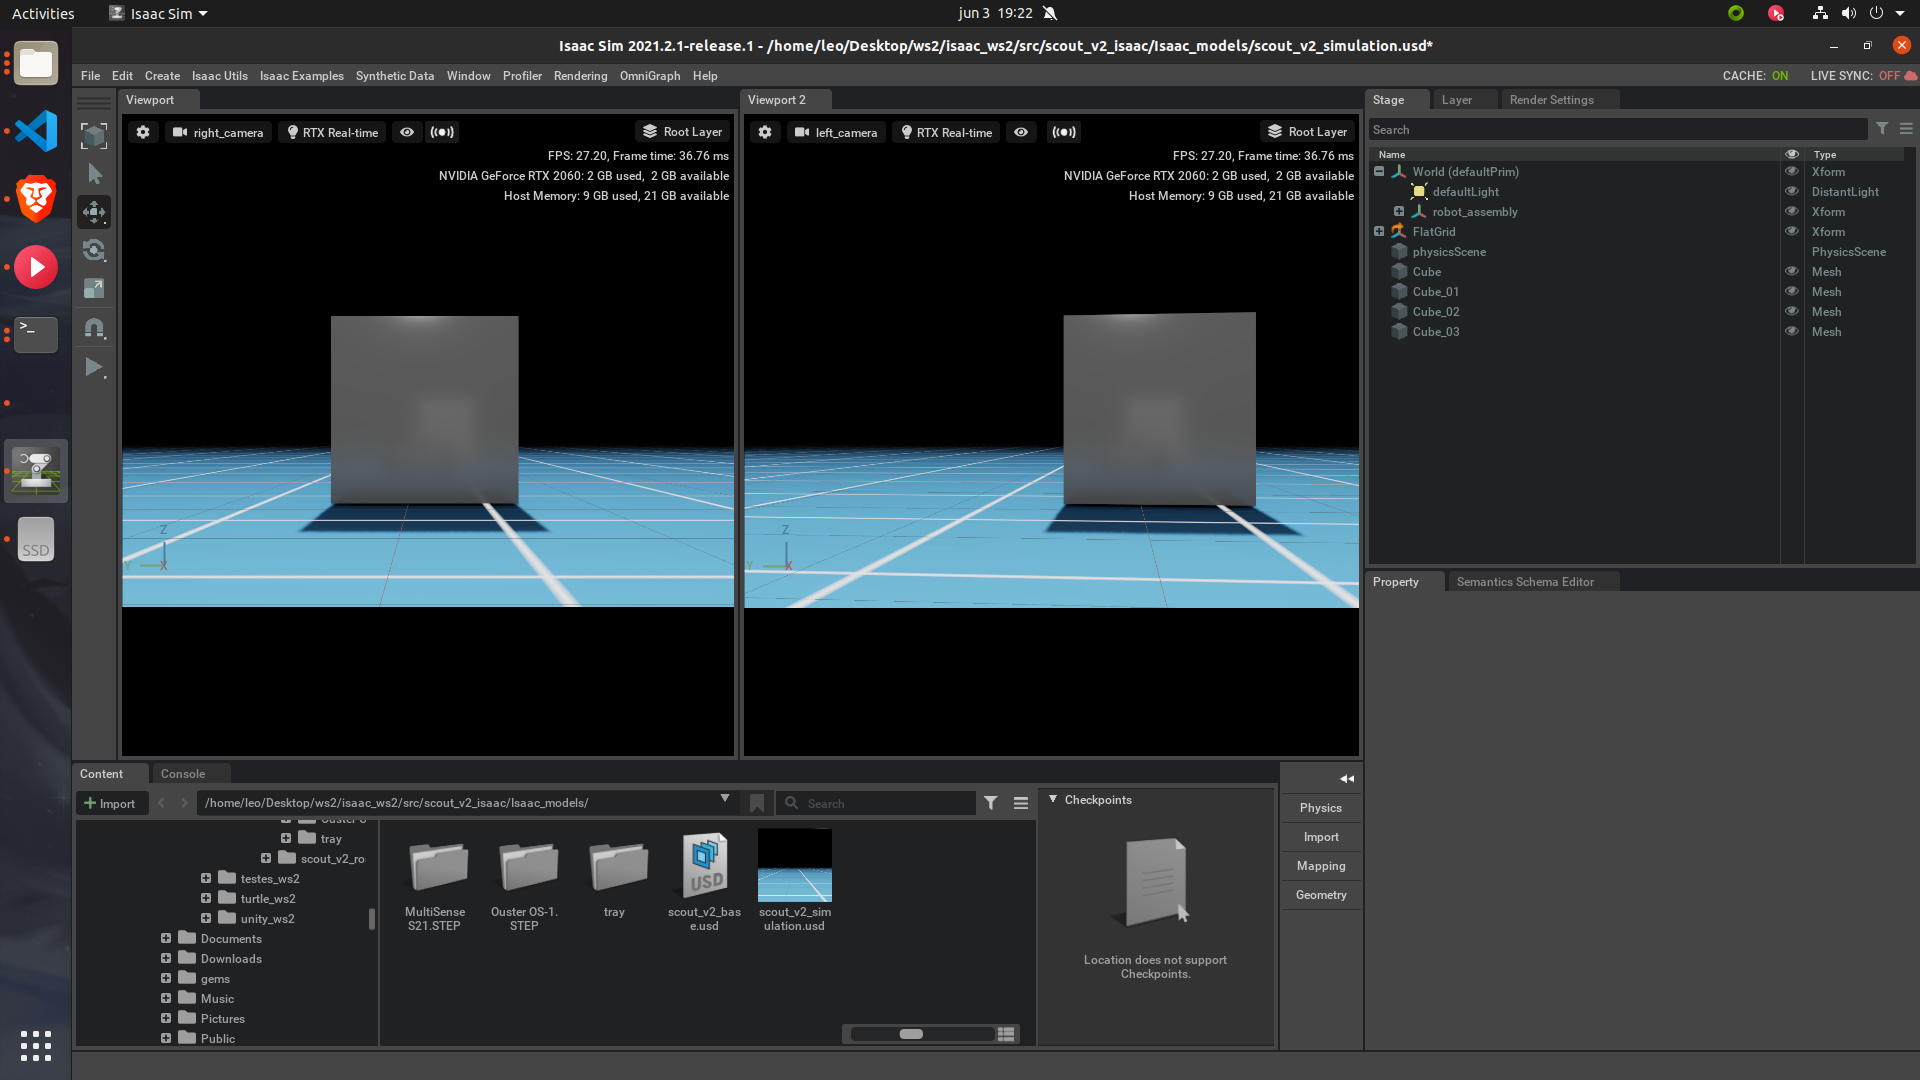
Inside the Isaac Sim, open the scout_v2_simulation.usd file 
Click on the play button on the left panel, go back to the terminal and check the ROS2 topics
1
2
3
4
5
6
7
8
9
10
11
12
$ ros2 topic list
/cmd_vel
/laser_scan
/left/camera_info
/left/rgb
/odom
/parameter_events
/point_cloud
/right/camera_info
/right/rgb
/rosout
/tf
To visualize the camera images, LiDAR and odometry, open Rviz
1
$ ros2 launch scout_v2_ros2 scout_v2_rviz.launch.py

You can navigate using teleop twist command
1
$ ros2 run teleop_twist_keyboard teleop_twist_keyboard
Thanks to use this tutorial and don’t forget, if something is wrong you can contact me on my e-mail or Github account.